How to send an email using IFTTT
Your chatbots can use IFTTT to send emails.
For example, if you expect to receive some information from the client in the script, the bot can send this information in an email associated with your IFTTT account.
Bank card information is required to use the service and get free trial access.
Configure IFTTT
Create a webhook and an event
To use the IFTTT service, you need to configure a webhook in IFTTT. The bot will send emails with the help of the webhook.
-
Sign up for IFTTT or log in if you already have an account.
-
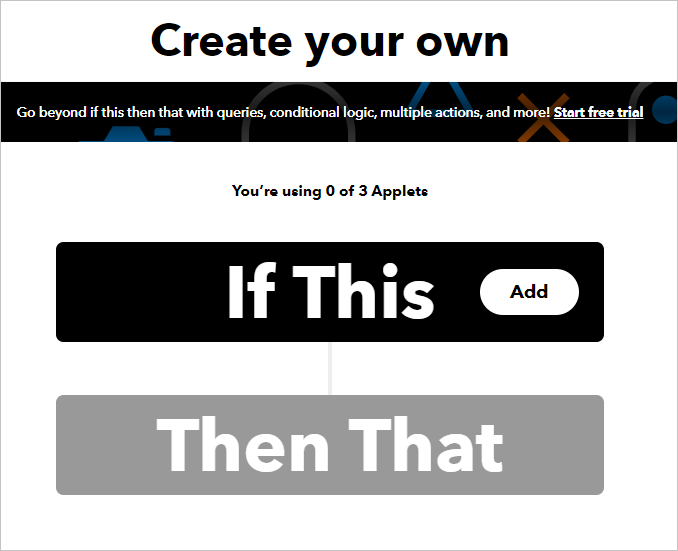
On the main page, click Create. You will be transferred to the page where you will create your applet.
 tipAn applet connects two or more services together. An applet includes a trigger, a query, and an action which is executed after the query is called.
 -
Click If This.
-
In the search bar, type
webhooksand choose the Webhooks service.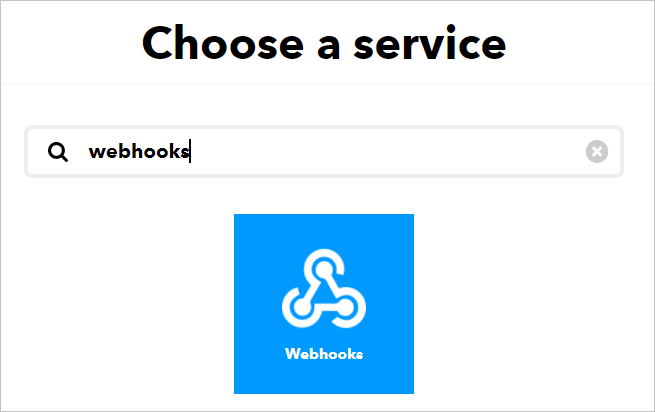
-
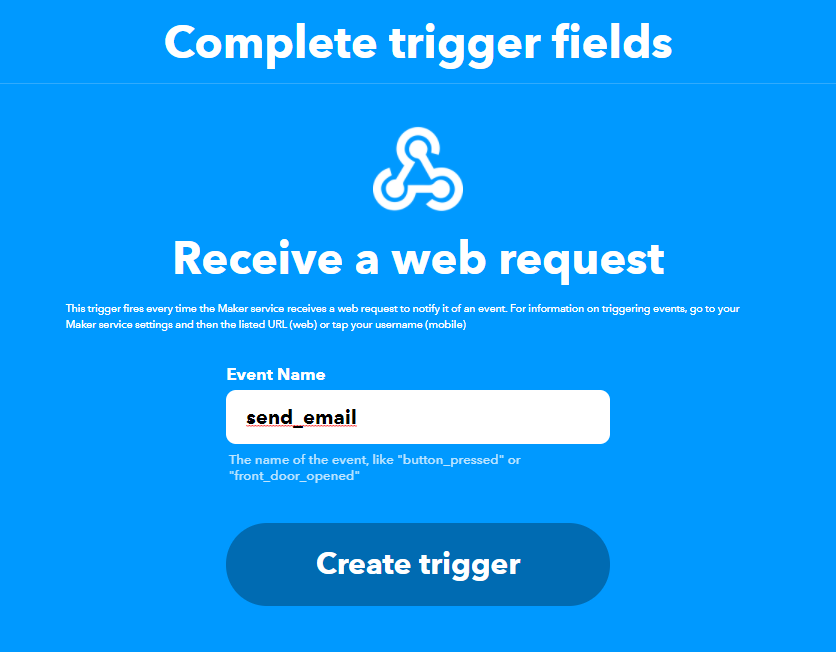
Click Receive a web request.

-
Write any name for your event in the Event Name field.
cautionYou can only use letters of the Latin alphabet and cannot use spaces in the event name. -
Click Create trigger.
-
Save the event name somewhere. You will need it later.
Create an action
After you create an event, you will be transferred to the applet page again.
Now you need to add an action to be taken after the webhook has been called. In this case, the action involves sending the client’s information to the email address associated with the IFTTT account.
-
Click Then That.
-
In the search bar, type
emailand select Email.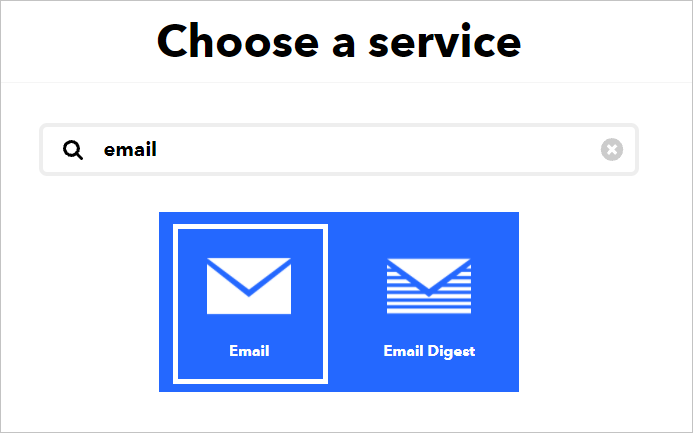
-
Click Send me an email. Here you will fill out the Subject and the Body fields.
The Subject field is associated with the email topic. It includes the
EventNameparameter which will be automatically replaced by your event name.The Body field includes email content with the following parameters:
- What:
EventName— the event name. - When:
OccurredAt— event trigger date. - Extra Data:
Value1,Value2,Value3— your variable names. These parameters are mandatory.
tipIFTTT allows sending no more than three variables in one event. If you want to send more variables, you can use any paid analog of the IFTTT service, e.g., Zapier.You can edit the static part of the email content. Also, you can remove
EventNameandOccuredAtparameters if you do not want to send the event name and the date in the email.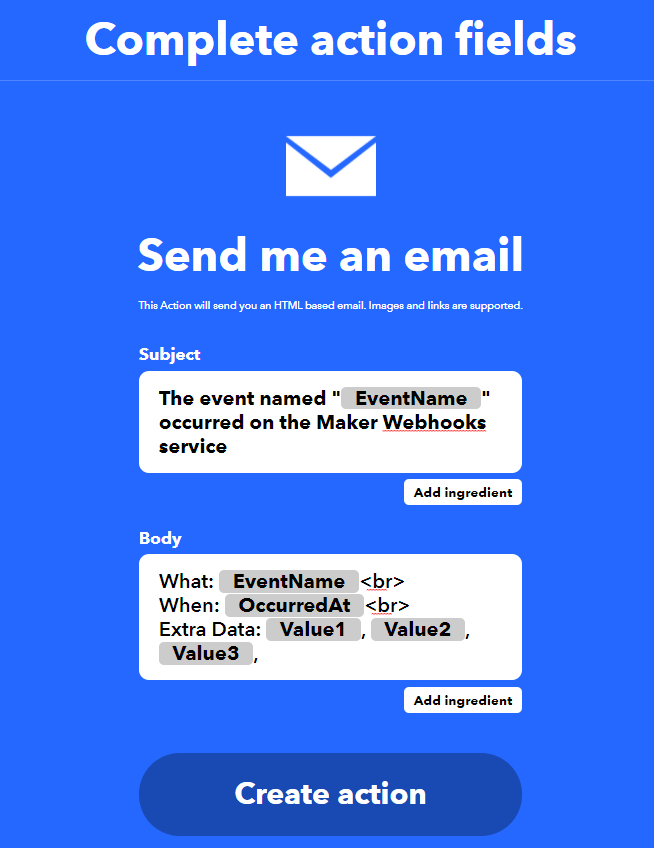
- What:
-
Click Create action, then click Continue.
-
Edit the applet name if you want and click Finish. You will be transferred to the applet page.
Now, when the bot sends an HTTP request to the webhook, IFTTT will take the variables and send you an email containing their values.
Test your webhook
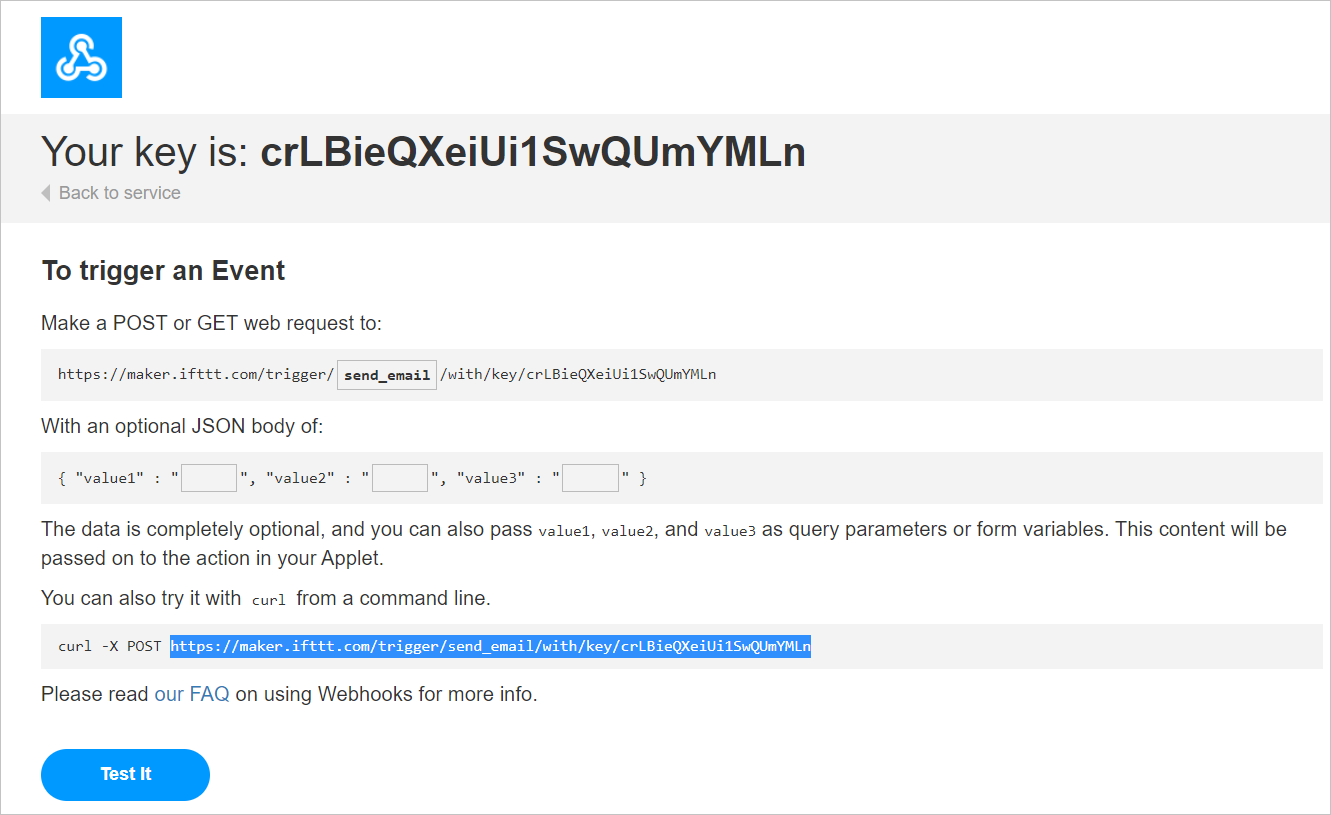
Go to the Webhooks page and click Documentation. You will see the page where you can test your webhook and check if it works correctly.
Replace {event} with the event name. Enter the name without brackets, quotation marks, or spaces.
If you have not changed your applet name, it will be named as follows: “If Maker Event ‘send_email’, then Send me an email at
username@company.com”. The value in quotes is your event name, here it is send_email.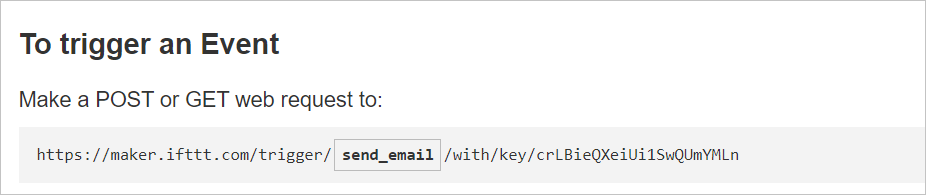
Write anything you want in the value1, value2, and value3 fields.
Click Test it.
Check your email for a new letter.
The email is not received
If you do not see an email, wait a few minutes. It might take some time to arrive.
If you still do not receive it, check which email address is associated with your IFTTT account. To do it, click your profile picture in the upper-right corner of the page. You will see an email address next to the profile picture. Make sure you are checking the same inbox.
The email is received
If you have received an email, go back to the testing page.
Specify the event name again in case it has been deleted.
You will see the webhook link. Copy and save it.
Connect event to the bot
After you have configured IFTTT, you need to set up the integration in Aimylogic.
Accept information from the client
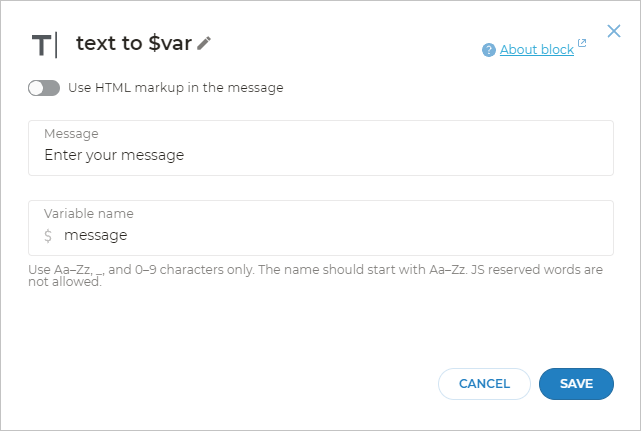
Open your script. Add the $text to var block. It will turn the message received from the client into a variable that will later be sent to your email.
After you have added the block, connect the Transition after entering a $message option to a new HTTP request block.
Add HTTP request block
You will need this block to send an HTTP request with the required data to the webhook address.
In the HTTP request block:
- Choose the
POSTmethod. - Paste the webhook you got earlier into the URL field.
- Leave the RESPONSE tab without changes.
- Paste the
{"value1": "$message"}JSON into the BODY tab.
If later you want to use all three variables, specify them as follows:
    {
        "value1": "$message",
        "value2": "$address",
        "value3": "$quantity"
    }
In this example, you see three variables: $message, $address, and $quantity. If you want to use all three variables, add them to your script. Otherwise, they will be empty.
Go to the HEADERS tab in the HTTP request. Specify Content-Type as a header and application/json as a value.
400 error.Click Save.
Add Text blocks
Connect the Success option of the HTTP request with a Text block. Write Your data has been sent in it.
Connect the Error option with one more Text block and write Error $httpStatus.
Click Test in the top panel to check if it works.
Possible errors
If the script does not work, make sure:
- You have chosen the
POSTmethod in the HTTP request block. - The HEADERS tab in the HTTP request contains
Content-Typewithapplication/jsonvalue.
If you have found a mistake, stop the test widget and restart it after you have made all the changes.
If you still cannot send the data, make sure that the URL of your HTTP request does contain the correct name of your event without typos or quotation marks.
Here are the most frequent HTTP responses when receiving an error:
| Error | Explanation |
|---|---|
-1 | HTTP request URL contains symbols that should not be in it. Check whether there are no spaces in the URL and the event name does not contain brackets or quotation marks. |
404 | HTTP request is incorrect. Make sure the URL you have specified is correct. The error may also occur if there are some problems on the IFTTT side. Try to make a request later. |
400 | HTTP request is incorrect. It can be an incorrect JSON, or if the client has written the message with line breaks. |