Webhooks
A webhook is a piece of “end-to-end” logic for your bot that performs some calculations on certain screens and returns some variables to the bot that are later used in the script.
You can use webhooks to implement your bot logic on your own server in any programming language.
How do webhooks work in Aimylogic
If a webhook is enabled in your bot, the bot will automatically submit all the current variables to your server’s URL when switching to the next screen and will wait for response from the server. When the response arrives, the bot will copy all the variables generated by the server and then will start processing blocks on the screen.
Thus you can complement or modify variables in your bot in the course of its operation by implementing even the most complex processing logic in any programming language.
For example:
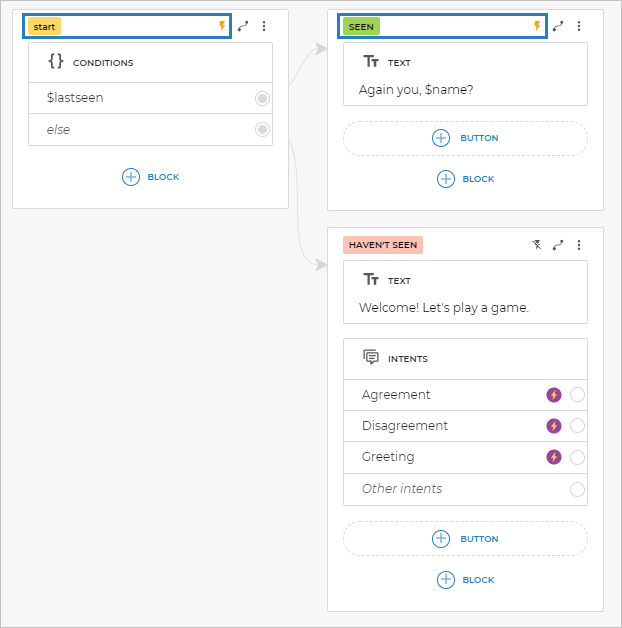
The webhook in this script will be invoked in the first screen as soon as the bot starts. All the current variables will be submitted to the webhook server, and new variables will be received — in this case, the server returns an object containing the $lastSeen variable. Then, if the $lastSeen variable is not empty, the bot will switch to the second screen where the webhook will also be invoked and the $name variable will be received. If $lastSeen is empty, the bot will switch to the third screen where the webhook is not invoked.
Webhook events
You need to specify an event in every screen where you plan to invoke your webhook. An event is any text string that will be submitted to the webhook together with variables. This is required for the server to understand which screen the request has come from and which data must be returned.
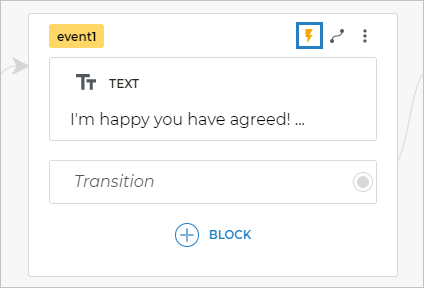
In our example above, the bot will send the webhook with the start event in the first screen and with the seen event in the second one. The event is displayed in the top right corner of each screen.
You can specify the same event for multiple screens. Any text can be specified as an event.
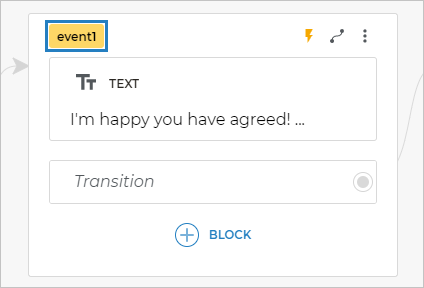
Simply type the name of the event you want to specify in the header of the screen:
How to enable the webhook
There is the Webhook Settings item in your bot settings.
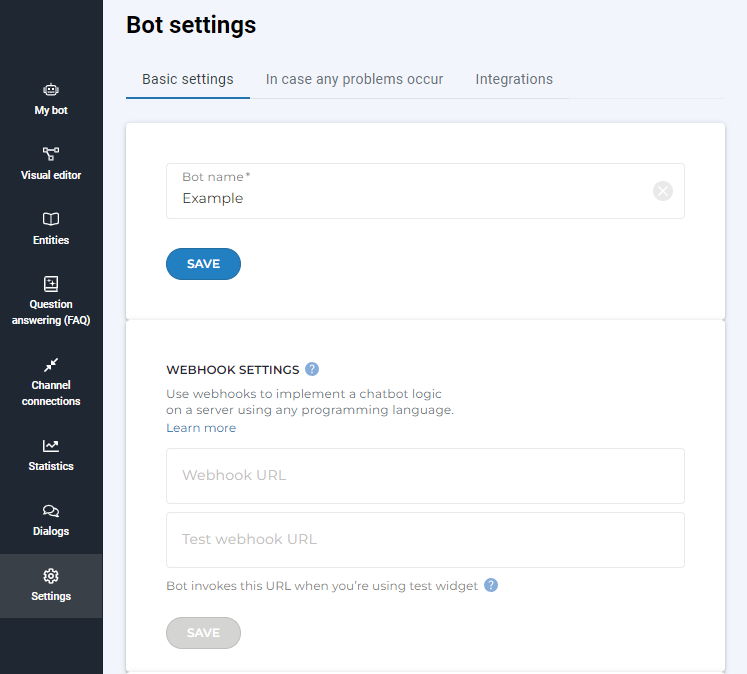
Here you need to specify the public-facing URL of your server that accepts POST requests in the Aimylogic webhook format.
You can also specify the URL for tests. Then the bot will access your test server when you test your script in a test widget. You can also develop the server for your webhook locally on your machine and then upload the code to your public server. For example, you can use the ngrok utility for that.
The ngrok website is not accessible in Russia.
After you specify the URL for your webhook, you can enable and disable events in the screens of your bot’s script.
To do this, specify the event name in the header of your screen:
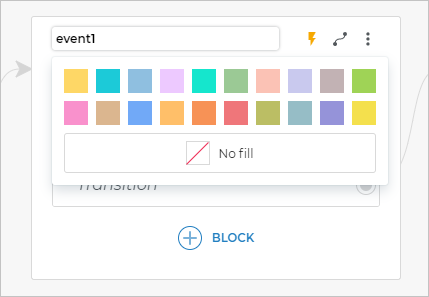
You can select any header color and then click the icon to turn it on:
If the event is enabled in the screen, the bot will submit the variables and the event you specified to your server, and will then copy variables from the server’s response. And only after that will it process the blocks in the screen.
Variables received from the server can be used just like any other variables: for example, they can be added to a text answer, used in conditions or HTTP requests, etc.
Aimylogic webhook protocol
In every screen where an event is enabled for the webhook, the bot will submit a POST request with the JSON object in its body. The JSON object contains all the current variables of the bot including the system ones and the action field, which is the text of the event specified in this screen.
For example:
{ "action": "event1", "queryText": "bye", "userId": "1234567890", "channelId": "0000000000000000", "channelType": "telegram", "rawRequest": {"message": {...}}, "variable1": 50, "variable2": "value"}
Your server must respond with a JSON object containing the required variables expected by your bot in this screen.
For example:
{ "lastSeen": 60, "name": "John", "data": { "age": 30, "website": "http://example.com" }}
The webhook server in this example returns the $lastSeen, $name and $data variables. Now the bot can use them in its script starting from the screen where it received them.
How is the webhook different from the HTTP request block?
You could use a HTTP request every time your bot needs to get some data from your server. However, the webhook has some advantages when you need to make a request like that in more than one screen:
- You do not need to overload your script with HTTP request blocks, so the script becomes much more compact and readable.
- The webhook always sends all the current variables to a single URL. You only need to specify it once in your bot settings.
- You do not need to parse your server response every time because the webhook protocol is standardized and the bot automatically copies all the variables from the response.
- The webhook can be enabled or disabled in different screens with no need to recompose the entire script to disable the transitions to the HTTP request block.
- You can specify a test URL for your webhook to develop it locally on your computer when you compose your script without affecting the bot that already interacts with your customers.
When you should use a webhook
You should use a webhook when your bot often needs to calculate or save some data and structure its conversation with the customer depending on the results. You can also perform even the most complex calculations and integrations on your own server using any programming language (not only JavaScript).
When you should not use a webhook
If there is a single place in your script where you need to calculate or save some data on your server, it would be easier to use the HTTP request block in the corresponding screen.
How to develop a webhook
You can write a webhook in any programming language and run it on any platform with public-facing URLs. We have made a few templates for some languages you can use to jump start your webhook development:
Where you can deploy your webhook
You will need a hosting to run your webhook. However, you can use utilities like “ngrok” at the development stage to get a temporary public-facing URL that your local server can use to accept requests from your bot.
When you are finally ready to deploy your webhook publicly, you may use some options.
Heroku
Heroku no longer offers free plans, and you need a non-Russian bank card to pay for their services. As an alternative, you can use Pipedream.
The heroku.com platform is one of the services where you can host your webhook server — you can use this platform to write servers in any programming language.
All the webhook templates we provide above can be deployed on Heroku by simply clicking the Run on Heroku link.