Connecting a channel and testing the bot script
We will test the bot before rolling it out in order to check its logic and ensure the script contains no errors.
Then we will enable the chat widget channel clients can use to request the desired information from the bot, and then we will communicate with our but.
Testing
As already mentioned above, testing helps to identify errors made in the process of the bot script development. We will write a simple test that covers navigation between bot states. Go to the test.xml file in the test folder and write the following test:
<test>
    <test-case>
        <q>/start</q>
        <a state = "/Start"/>
        <q>Hi</q>
        <a state = "/Hello"/>
        <q>Bye</q>
        <a state = "/Bye"/>
        <q>How are you</q>
        <a state = "/NoMatch"/>
    </test-case>
</test>
Each test-case checks if the actual response of the bot to a specific question meets client expectations.
A user reply is usually identified with the <q> tag, a reaction is identified as <a>.
The state to which the bot transitions is usually specified as the answer. Therefore, you won’t need to change the bot’s response in the test once it is changed in the script. For example, the test above checks whether the bot transitions to the start state at startup. The Hi, Bye and How are you phrases of a user must switch the bot to the Hello, Bye and NoMatch states.
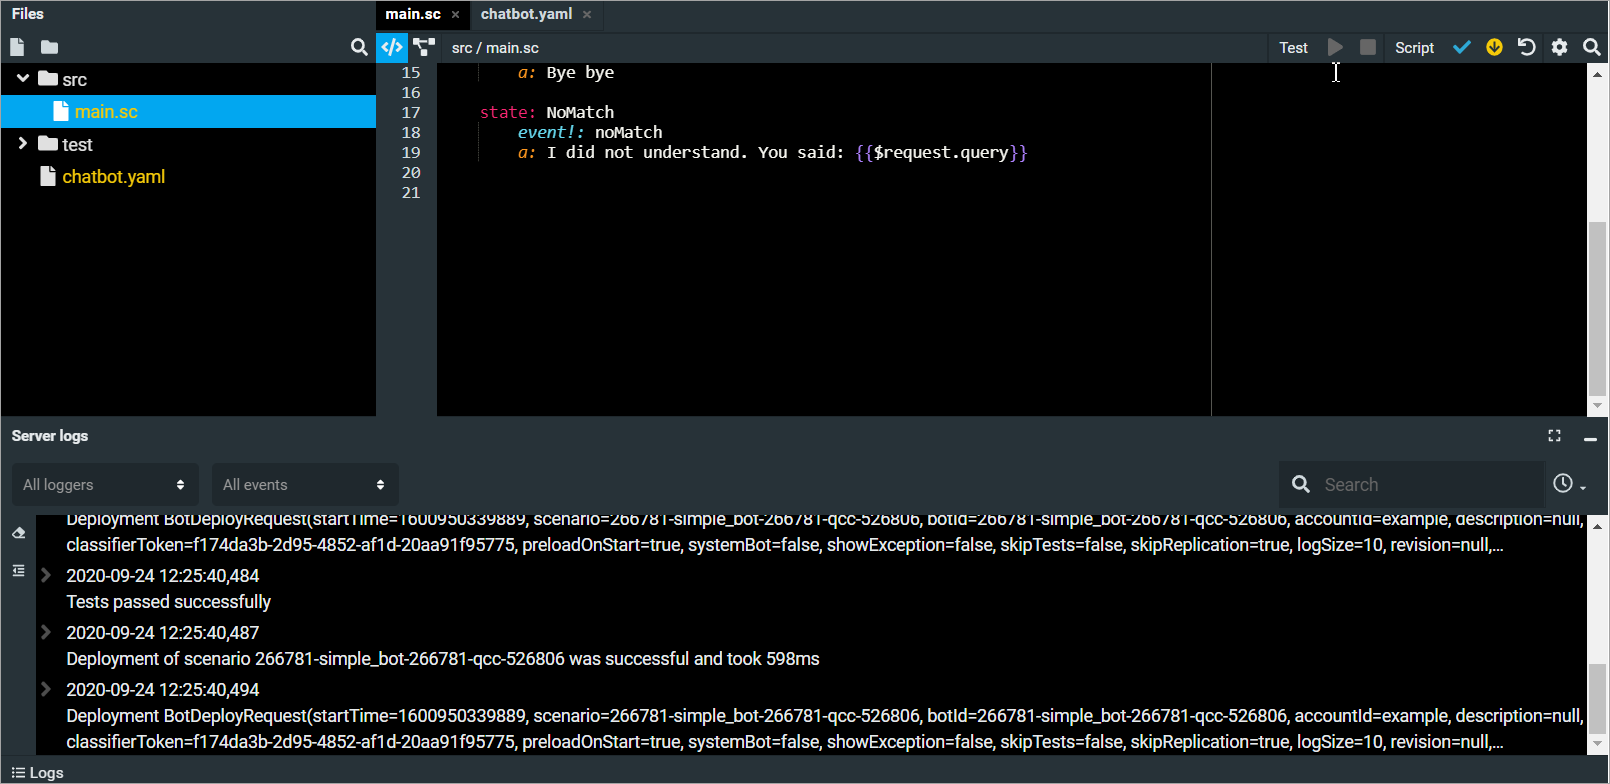
Click the ![]() icon on the right side of the upper panel to save your script.
icon on the right side of the upper panel to save your script.
Test widget and logs
The project will be deployed automatically after you save your test. You can use the Tasks list and Notifications tabs on the upper panel to track deployment progress and result.
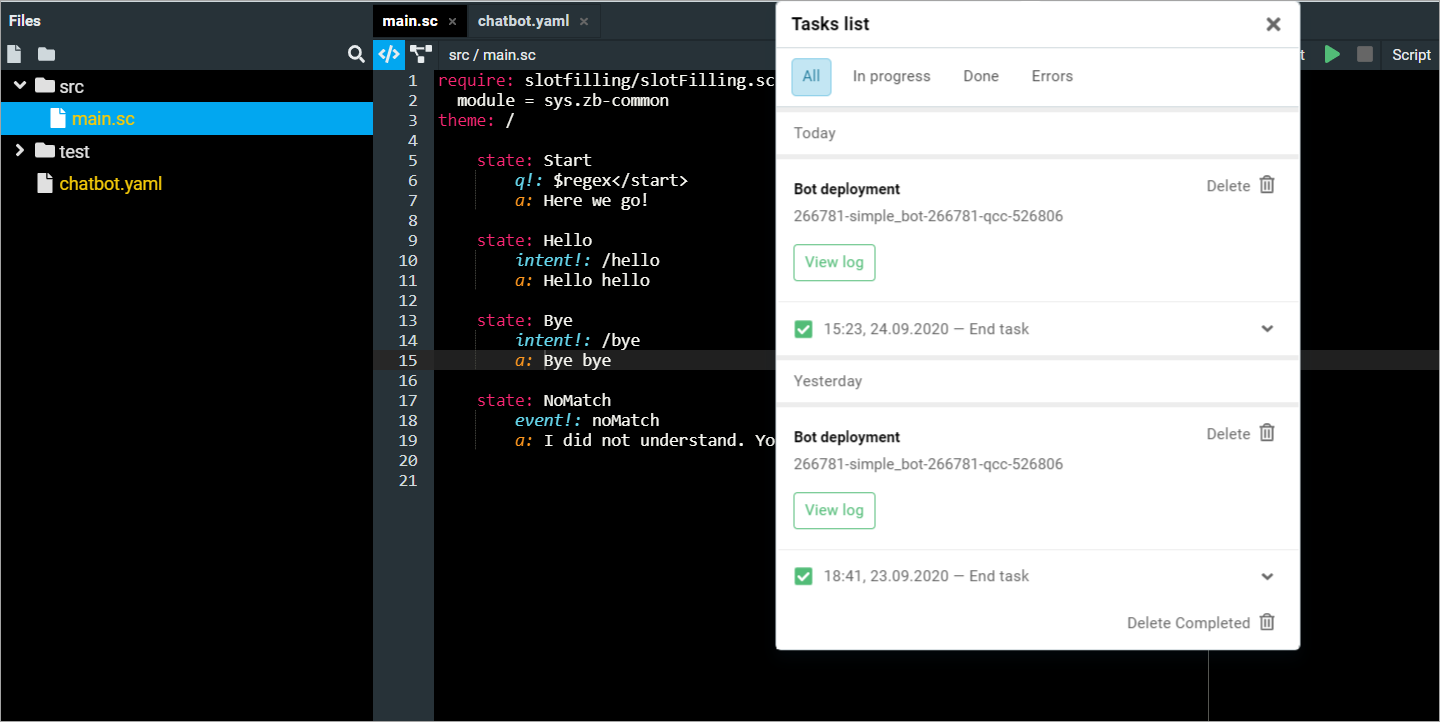
If the notification list is empty after the project is rolled out, the project has been successfully deployed and no errors have been encountered. Otherwise, check logs in your notifications, correct the error and re-deploy.
Now, click ![]() to run the test widget.
to run the test widget.
The tab of the test widget will appear in the right corner. Send a few messages to the bot and check if you get expected answers.
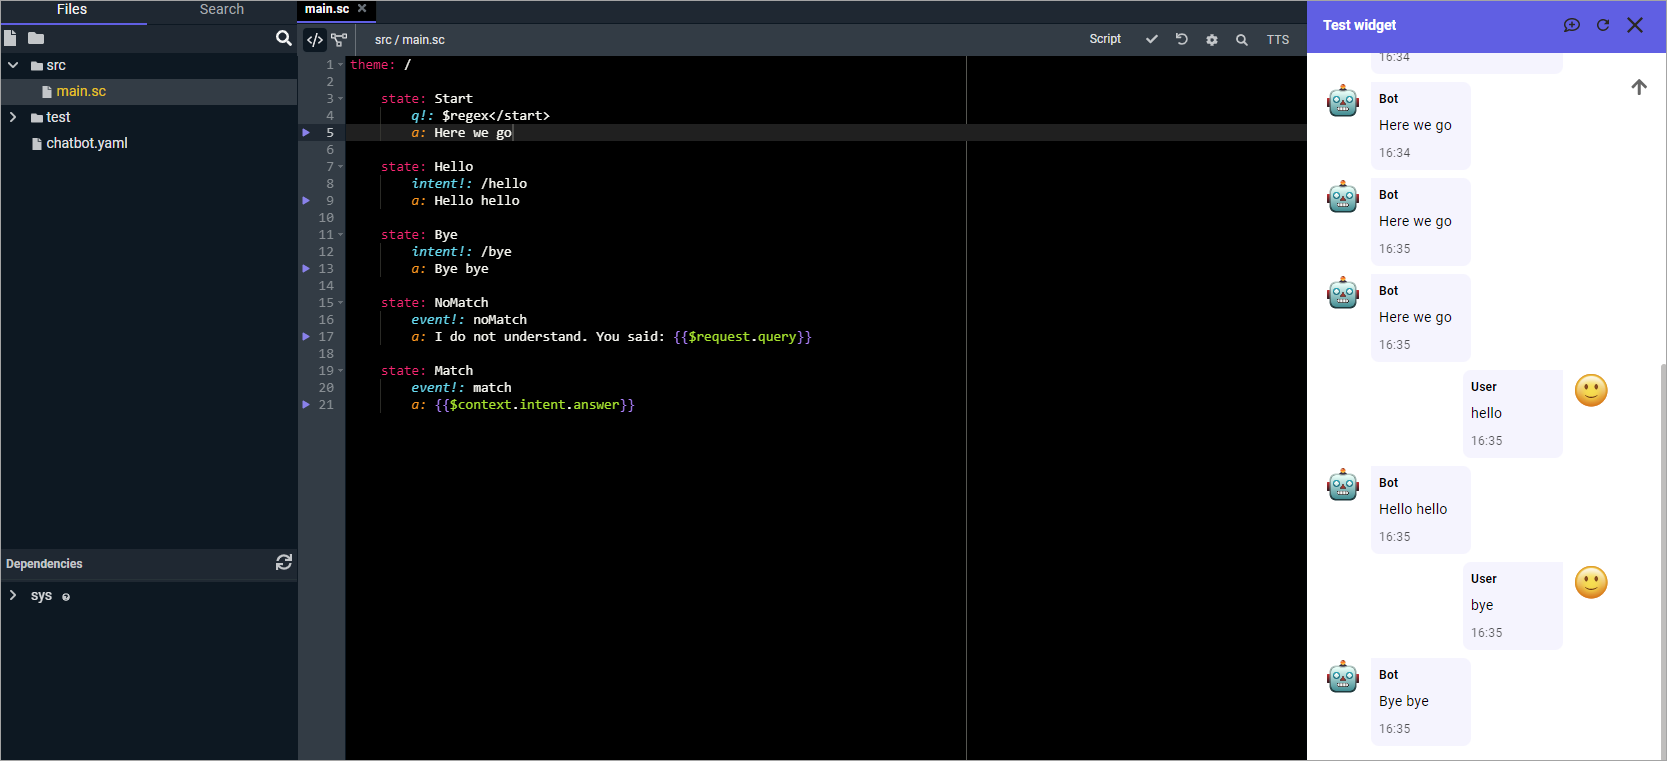
Click the Logs button at the bottom of the screen. You can track server logs for real time control over the events processed by the bot, such as incoming messages, buttons pressed, etc.
Now let us enable the channel and talk with the bot.
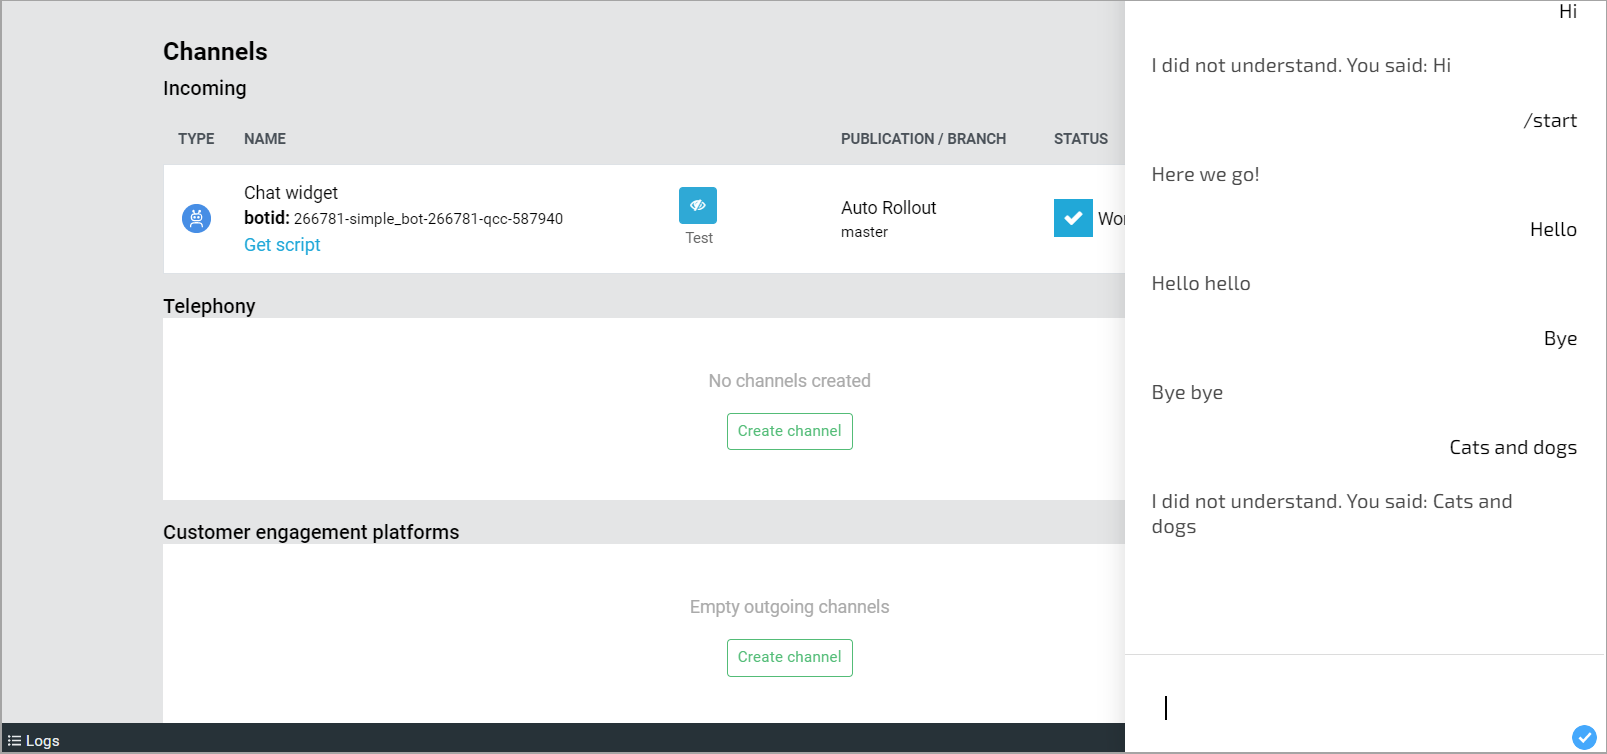
Connect the channel
JAICP supports a number of channels, such as messengers, customer engagement platforms, and telephony. We will connect a simple chat widget in this example.
- You need to add an inbound channel to run your bot. Click Channels on the control panel.

-
Let us test the bot on the inbound channel. Click Connect channel in the Inbound channels window. Select Others > Chat widget. You can use a chat widget to easily test bot scripts.
-
Fill out the following fields:
- Name — name of the chat widget.
- Branch —
masterby default if the project is not template-based. - Agent — leave it blank.
- Deployment — select Automatic (whenever any change made to the project is saved) or Manual (using the Deploy button in the channel description line).
- Click Create.
Wait for a pop-up window with the deploy result to appear. If the deployment is successful, the bot is ready for testing. Otherwise check the script for errors.
Testing in a chat widget
-
Click
 in the row with the bot to activate the widget.
 -
The chat window will appear at the bottom of the screen. Let us start a conversation with the bot and check if it works correctly:
- Attempt to create a channel yourself in another messenger, such as Telegram.
After chatbot channels are enabled, review the analytics.