Creating a basic bot
At this stage, we will create a bot that will respond to simple client phrases. To messages Hi and Bye the bot will respond with a Hello hello and Bye bye. In addition, we will provide the bot action in response to other client messages.
Project creation and setup
Let’s start creating a simple bot by logging on to the platform and create a new project.
A project is a bot script connected to several channels. A script is a business logic that the bot executes.
After authorization, you will be redirected to the main JAICP page. Click + Create project.
You will see four ways of creating a project. Choose Use template.
Fill in key fields to set up the project:
- Name — a project name.
- NLU language — the language the bot will understand.
- Template — the default project for NLU. The template contains a simple bot script, whose work will be considered in this tutorial.
- Store in an external Git repository — leave this option disabled to keep the project in the local storage of JAICP.
Click Create project.
Algorithm of creation
-
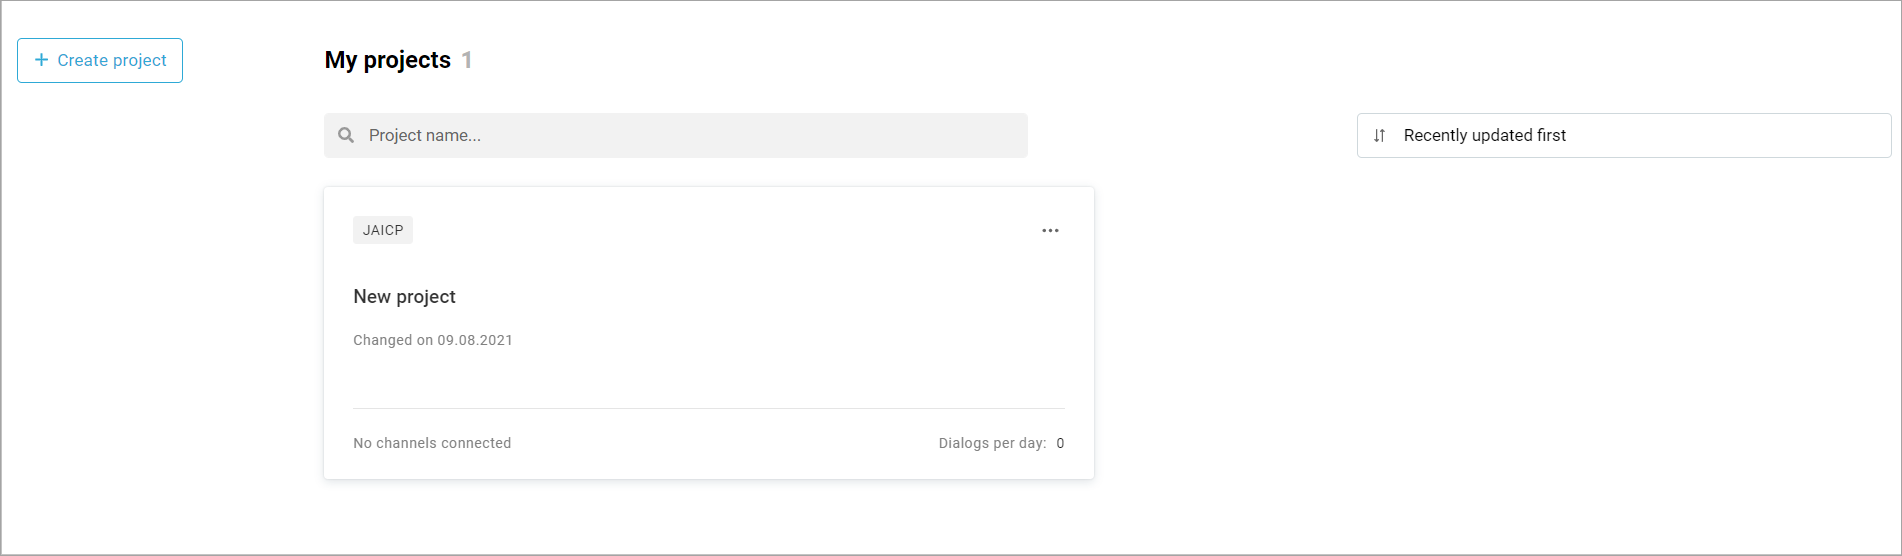
After you have created a project, the project page appears. If you have any other page opened at the moment, you can open the project by:
- selecting it from the drop-down list on the top navigation bar;
- proceeding to the main JAICP page and selecting it in the My projects section.
- Click Editor → Code on the control panel.

Here is a bot script from a template. Pay attention to the project directory, it contains:
- File
chatbot.yamlcontains the project descriptor and is located in the root folder of the project. - Folder
src, which contains the file with the basic script of the botmain.sc. This folder may also contain files with additional scripts, dictionaries in.csvformat and scripts in.jsformat. - Folder
testcontains tests in.xmlformat to test the bot script.
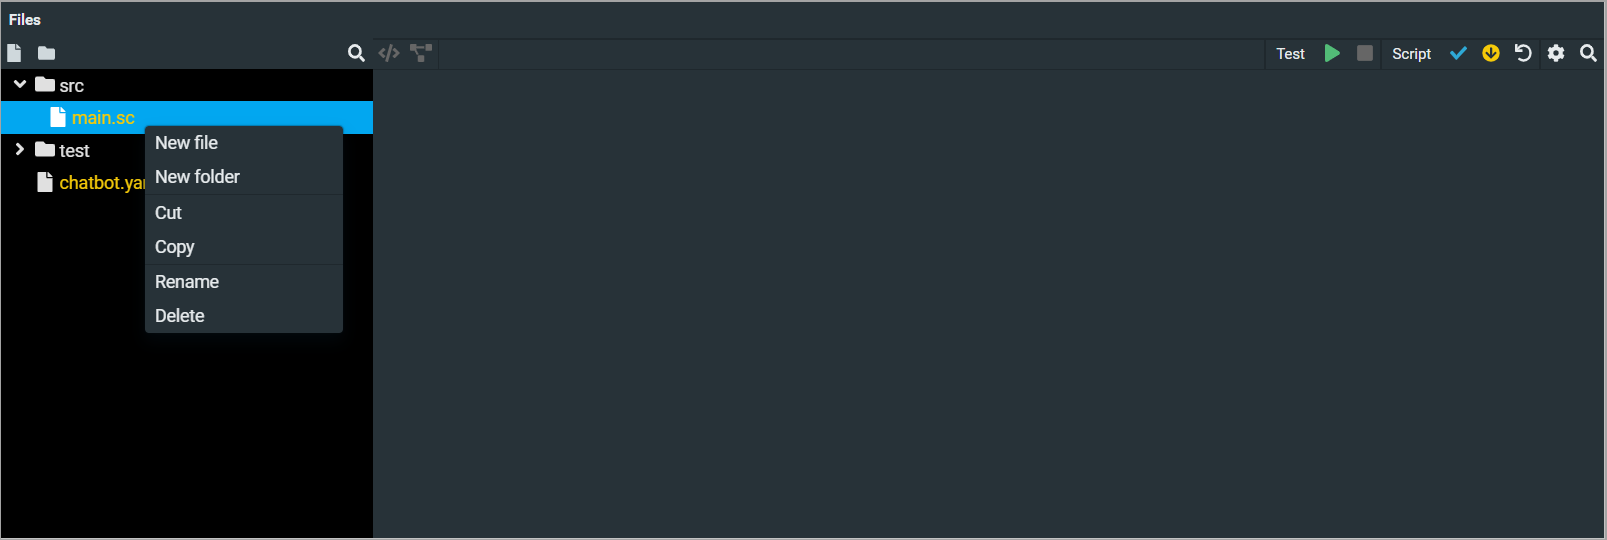
To add a folder or file, select a directory, then right click in the box to the right of the control panel. Or use the icons above the area with files.
On the right side of the screen there is a file editing area.
- The
chatbot.yamlfile contains project configuration parameters:
# Project name
name: echo-bot
# Entry point
entryPoint:
  - main.sc

# NLU parameters:
botEngine: v2   # Bot engine version
language: en    # Bot language

nlp:
  intentNoMatchThresholds:
    phrases: 0.2
    patterns: 0.2
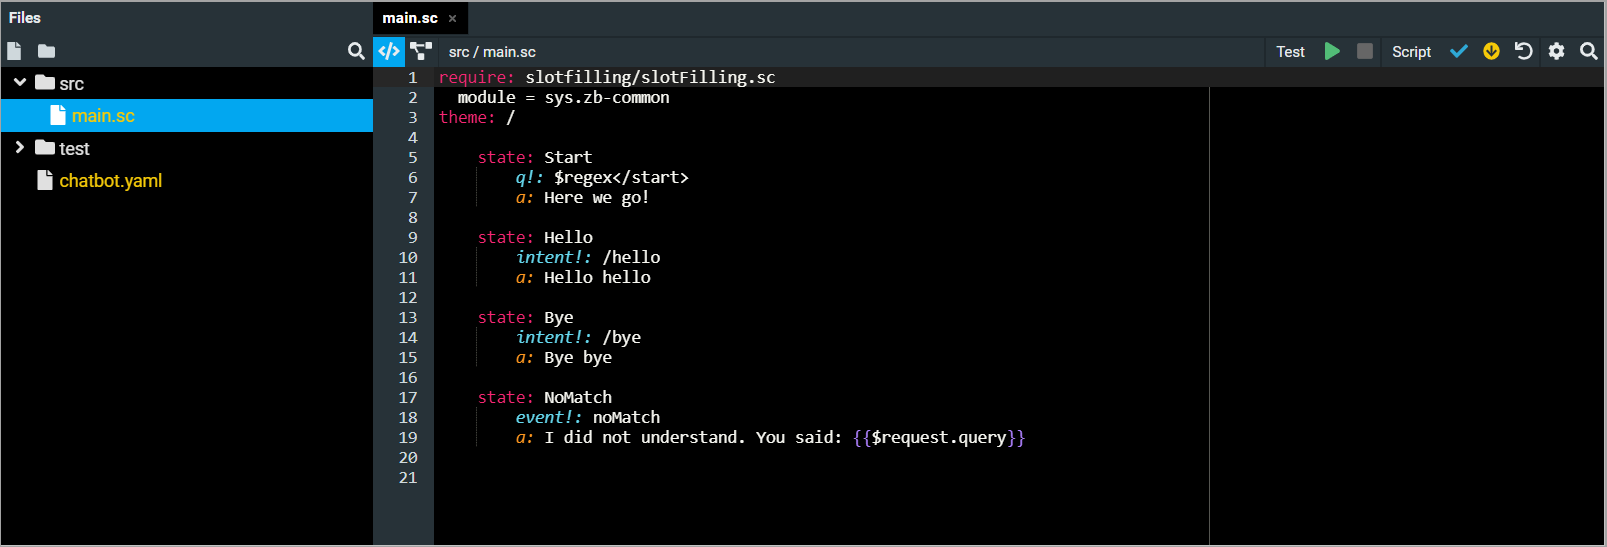
- The
srcfolder contains the filemain.sc, which contains the bot script:
require: slotfilling/slotFilling.sc
  module = sys.zb-common
theme: /

    state: Start
        q!: $regex</start>
        a: Here we go!

    state: Hello
        intent!: /hello
        a: Hello hello

    state: Bye
        intent!: /bye
        a: Bye bye

    state: NoMatch
        event!: noMatch
        a: I did not understand. You said: {{$request.query}}
At the beginning of the script under the tag require we connect an additional module sys.zb-common and slotFilling. In this example, they are not used, but are part of a template script.
The script describes the bot’s transitions from one state state to another depending on the client’s response.
Next, let’s consider the key units of the NLU core — intents, and then move on to the algorithm of processing client requests.
Intents
Intent is a key unit of the NLU core, combining a set of phrases, client’s intention and other meta-information.
To view the intents settings, go to the NLU → Intents tab on the control panel.
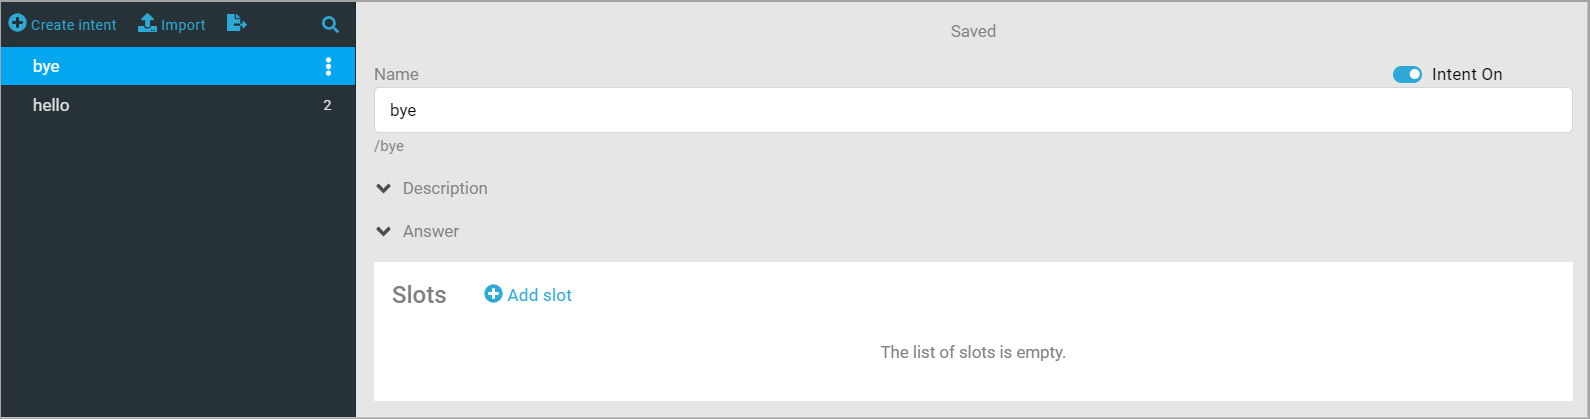
Simple intents are set through a set of phrases. The intent creation algorithm is simple: we set the intent name and then create a set of training phrases to which the bot will react. You can also set automatic bot answers with slot filling.
The current bot script contains two simple intents /hello and /bye. The words Hello and Bye are specified in the field Training phrases. In this way, the bot will determine the client’s intention and move to the appropriate state.
To make the bot better understand its clients, add more phrases to the Training Phrases field. The more phrases there are, the more likely it is that the bot will correctly detect the client’s intention. In this case it is important to use different expressions.
Script structure
Let us consider the process of executing this script:
-
The script is started and the bot sends a message
Here we go!. The client message processing includes the startstartand end states of theNoMatchdialog box.When the bot is started, the first request is the default regular expression
/start. To process it, the statestartis required. If it does not exist, the bot will find a state that responds to any text input, or it will display an error in processing the request. -
The client enters the message
HelloorByeand receives a corresponding reply from the botHello helloorBye bye.The global tag
intent!allows you to move a dialog to a given state from any other state. For example, the client has entered the messageBye, the request will get to the stateBye, because theintenthas been activated. -
It is worth remembering that people can make mistakes when typing commands and send the bot a text that differs from all the considered options. For this purpose, the
NoMatchstage is used, which processes the end of the script in case the client message does not fit any of the described stages.When the client enters a message, for example,
How is it done?, the eventnoMatchis activated, which is specified under the global tagevent!in theNoMatchstage. The bot sends a messageI do not understand. You said: How is it done?
Now let’s go to bot testing and channel creating.